How to Install Aerial Cables for Maximum Durability
Time: 2025-06-22 14:03:45
Source: Henan Province Jianyun Cable Co., Ltd.
Overview of Aerial Cable Installation
Aerial cables, suspended between poles or structures, are widely used for power distribution, telecommunications, and broadband networks. Proper installation ensures durability against environmental stressors like wind, ice, UV exposure, and temperature fluctuations. Adhering to standards such as the National Electrical Safety Code (NESC) or IEC 60794 enhances safety, reliability, and longevity, minimizing maintenance costs and service disruptions in urban or rural settings.
Importance of Durable Aerial Cable Installation
Installing aerial cables for maximum durability is critical for:
-
Environmental Resistance: Protects cables from weathering, ensuring consistent performance in harsh conditions.
-
Safety: Prevents cable failures that could cause electrical hazards, falling cables, or outages.
-
Cost Efficiency: Reduces repair and replacement costs by extending cable lifespan.
-
Service Reliability: Maintains uninterrupted power or communication services, critical for utilities and customers.
-
Compliance: Meets regulatory requirements like NESC or local codes, avoiding fines or rework.
Poor installation can lead to sagging, insulation damage, or structural failures, compromising system integrity.
Equipment and Safety Requirements
Installing aerial cables requires specialized tools and strict safety measures:
-
Tools: Cable pullers, tensioners, come-alongs, pole climbers, bucket trucks, cable cutters, and crimping tools.
-
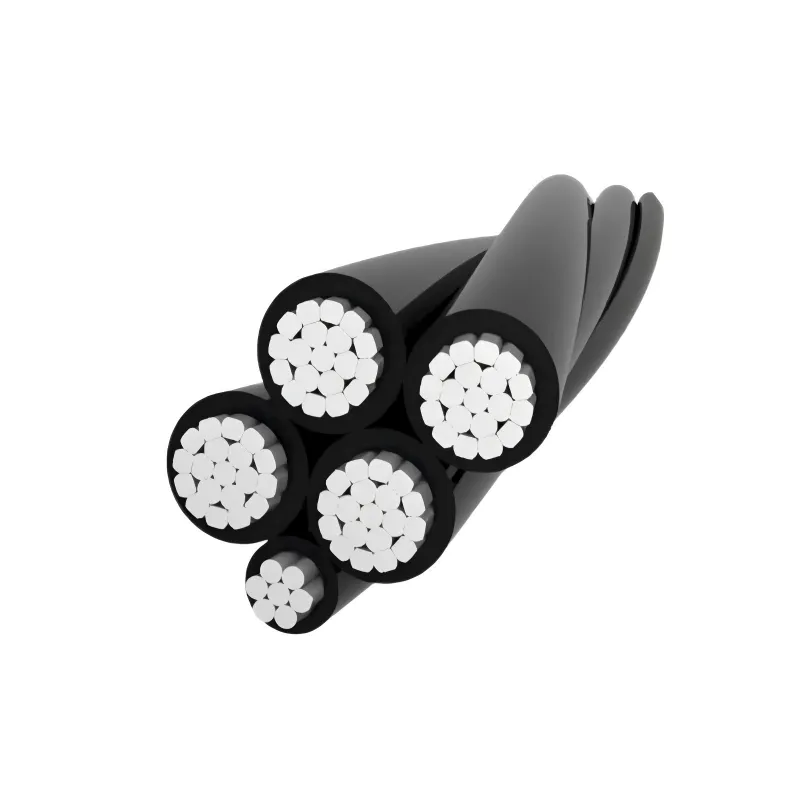
Materials: Aerial cables (e.g., ACSR, ADSS), messenger wires, suspension clamps, dead-end fittings, insulators, and grounding kits.
-
Personal Protective Equipment (PPE): Hard hats, insulated gloves, safety harnesses, high-visibility clothing, and arc-rated gear.
-
Safety Equipment: Lockout/tagout kits, multimeters for de-energization verification, and traffic control barriers for roadside work.
-
Documentation Tools: Notebooks or digital devices for recording installation details and test results.
Safety precautions:
-
Ensure only trained personnel handle installations, per OSHA or local regulations.
-
De-energize existing lines and verify with a multimeter before work begins.
-
Maintain safe distances from live lines per NESC guidelines (e.g., 10 ft for voltages up to 50 kV).
Step-by-Step Installation Process
Step 1: Plan the Installation Route
Careful planning ensures efficiency and durability:
-
Survey the route to identify pole locations, obstacles (e.g., trees, buildings), and environmental factors (e.g., wind zones, ice loading).
-
Calculate span lengths and sag requirements using NESC or manufacturer guidelines, accounting for temperature variations (e.g., 0°C to 40°C).
-
Obtain permits and coordinate with utilities or local authorities to comply with regulations.
-
Design grounding and support systems to handle cable weight and environmental loads.
Step 2: Select Appropriate Cables and Hardware
Choose materials suited for durability:
-
Select cables with robust insulation (e.g., XLPE, HDPE) and UV-resistant sheathing, compliant with standards like IEEE 1222 or IEC 60794.
-
Use self-supporting cables (e.g., ADSS for fiber optics) or messenger-supported cables (e.g., ACSR with steel messenger) based on application.
-
Choose corrosion-resistant hardware (e.g., galvanized steel or aluminum clamps) for coastal or humid environments.
-
Verify cable and hardware ratings for expected loads, including wind (up to 120 km/h) and ice (up to 12 mm thickness).
Step 3: Prepare the Installation Site
Ensure a safe and accessible work area:
-
Clear vegetation or obstacles along the route to prevent interference with cables or maintenance access.
-
Install or inspect poles, ensuring they meet NESC strength requirements (e.g., Class 4 or better for utility poles).
-
Set up traffic control measures for roadside installations, using cones, signs, or flaggers per local regulations.
-
Stage equipment and materials near poles, ensuring reels are protected from moisture or damage.
Step 4: Install Support Structures and Hardware
Establish a robust support system:
-
Install messenger wires or suspension clamps on poles, ensuring alignment and proper tension (e.g., 10–15% of breaking strength).
-
Attach dead-end fittings at terminal poles to anchor cables, using guy wires for additional stability if spans exceed 100 meters.
-
Place insulators for power cables or preformed grips for fiber optic cables, ensuring secure attachment to poles or cross-arms.
-
Verify hardware is corrosion-resistant and rated for environmental loads per NESC or IEC standards.
Step 5: String and Tension the Cables
Properly string and tension cables for stability:
-
Use cable pullers or winches to string cables, maintaining minimum bending radius (e.g., 10–12 times outer diameter) to avoid damage.
-
Apply tension per manufacturer specifications, using dynamometers to measure (e.g., 500–1000 N for small cables), accounting for sag at maximum temperature.
-
Ensure even tension across spans to prevent sagging or overstressing, using sag charts for reference (e.g., 1–2% of span length at 20°C).
-
Avoid contact with ground or obstacles during pulling, using rollers or guides to protect cable sheathing.
Step 6: Secure and Ground the Cables
Secure cables and establish grounding for safety:
-
Fasten cables to suspension clamps or messenger wires, ensuring no slippage or abrasion at attachment points.
-
Ground metallic shields or messenger wires at each pole using grounding rods or busbars, per NEC Article 250 or IEC 60364.
-
Use grounding clamps and copper conductors (e.g., 6 AWG) to ensure low-resistance paths (<1 ohm) to earth.
-
Apply protective sleeves or guards at pole contact points to prevent chafing or UV damage.
Step 7: Test and Inspect the Installation
Verify the installation meets standards:
-
Perform insulation resistance tests (e.g., 500V or 1000V Megger test) to confirm cable integrity, expecting >100 MΩ for new cables.
-
Inspect sag and tension visually and with measuring tools, ensuring compliance with design specifications.
-
Test grounding continuity with a multimeter, verifying low resistance to earth (<1 ohm).
-
Conduct a final walk-through to check for loose hardware, cable damage, or non-compliance with NESC or local codes.
Maintenance Tips for Longevity
Regular maintenance ensures ongoing durability:
-
Inspect cables and hardware annually for signs of wear, corrosion, or vegetation interference.
-
Retest insulation resistance every 2–3 years or after severe weather events to detect degradation.
-
Retension cables if excessive sagging occurs due to thermal expansion or creep, per manufacturer guidelines.
-
Replace damaged clamps or insulators promptly to prevent cable strain or electrical faults.
-
Document maintenance activities to track cable condition and plan replacements (typical lifespan: 20–40 years).
Common Mistakes to Avoid
-
Inadequate Planning: Ignoring environmental loads or span calculations leads to sagging or cable failure.
-
Using Incorrect Cables: Selecting non-UV-resistant or undersized cables reduces lifespan and reliability.
-
Over-Tensioning: Excessive tension damages conductors or hardware, causing premature failure.
-
Poor Grounding: Inadequate grounding increases EMI or lightning strike risks, compromising safety.
-
Skipping Inspections: Neglecting post-installation tests misses defects, leading to early failures.
Summary Table: Installation Steps
|
Step
|
Key Actions
|
Potential Risks if Skipped
|
|
Plan Route
|
Survey route, calculate sag, obtain permits
|
Sagging, regulatory violations
|
|
Select Materials
|
Choose UV-resistant cables, corrosion-resistant hardware
|
Weather damage, reduced lifespan
|
|
Prepare Site
|
Clear obstacles, install poles, set up traffic control
|
Installation delays, safety hazards
|
|
Install Hardware
|
Attach clamps, insulators, messenger wires
|
Structural failure, cable slippage
|
|
String Cables
|
Pull cables, apply correct tension and sag
|
Conductor damage, excessive sagging
|
|
Secure & Ground
|
Fasten cables, ground shields/messengers
|
EMI issues, lightning risks
|
|
Test & Inspect
|
Perform insulation and grounding tests, verify sag
|
Undetected defects, early failures
|
Conclusion
Installing aerial cables for maximum durability requires meticulous planning, appropriate material selection, and adherence to industry standards like NESC and IEC. By following a systematic process—planning the route, selecting durable cables, preparing the site, installing hardware, stringing and grounding cables, and testing the system—installers can ensure long-term reliability and safety. Regular maintenance and partnerships with reputable suppliers like Jianyun Cable enhance cable lifespan and performance. Avoiding common mistakes, such as over-tensioning or poor grounding, supports successful installations for power, telecommunications, or broadband networks.
